
Article
Raw data playback in ALTRON, and finding any setting fast
One good recording of a defect is worth more than reproducing the same defect ten times on the production line. A live scene never repeats exactly; the lighting changes slightly and the part arrives slightly shifted. Raw data playback in ALTRON solves this problem. Alongside it, we also introduce the Ui Search box, which makes finding any setting fast.
What exactly does playback do?
Instead of a live camera, a playback source sends recorded raw data back into the graph. For the rest of the graph it makes no difference whether the data came from the camera or from disk. So you record once, then process the same data many times with different settings and compare the results precisely side by side.
Save the data raw, not as JPEG or video, because lossy compression destroys exactly the details you want to examine. The RawData node writes the camera output losslessly into a single continuous file. The SeparatedRawData node saves the same data as separate files and can compress them.
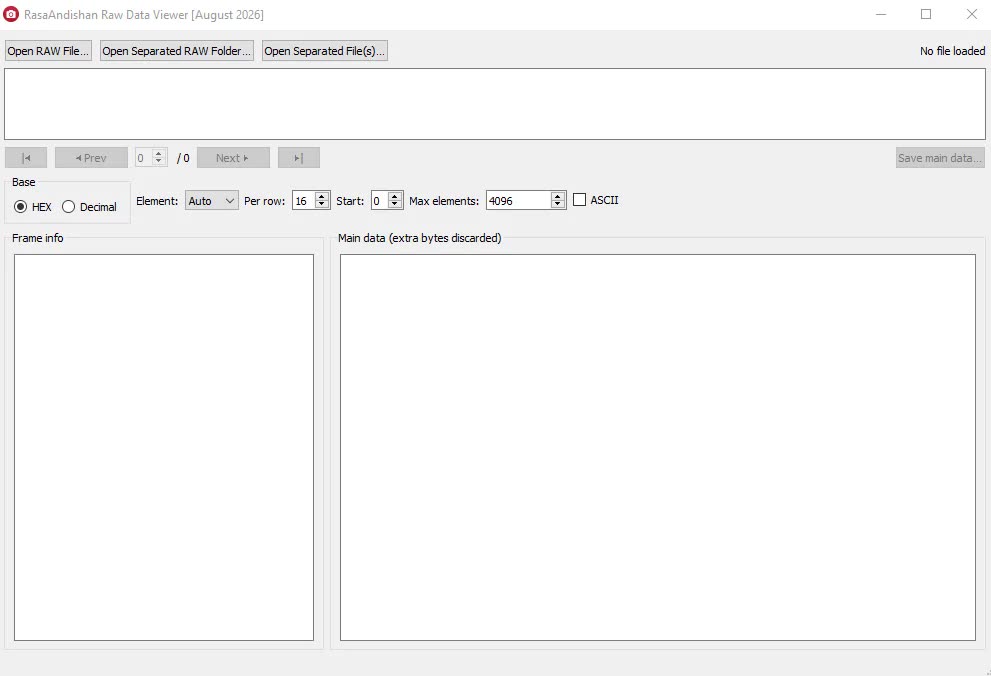
Playback works on a folder of separated files. If you have a single combined file, open the SingleRAW to SepRAW Converter tool from the Tools menu to convert it into separate files. If you just want a quick look at a few recorded frames, Raw Data Viewer in the same Tools menu opens both file types without building a graph.
- In the main window, open Manage Virtual Cameras and press the + Sep Raw button. A playback source with a new serial number is created and opens with the default playback graph.
- The default playback graph is set up for thermal camera data. If your recording is from a line-scan or area-scan camera, arrange the graph in the graph editor with the same processing you use on the real camera.
- In the source settings panel, select the recording folder with Browse....
- Start playback with Start. Press Pause to pause and Stop to stop.
- Set the speed in Playback speed, in records per second. The default is 25.
- To move through the recording, use the slider or the ±1, ±10, ±100 and ±1000 buttons.
During playback, Time and Index show the current position in the recording, and File Name and File Time show the name and capture time of the current file. The Repeat option is on from the start and restarts playback from the beginning at the end of the recording.
- Pause on a specific record and note down the Index number.
- Change a parameter in the processing plugin and see the result.
- Because the input is fixed, any difference in the output comes solely from that parameter.
- Whenever needed, use Index to return to exactly the same record.
ALTRON graphs sometimes have dozens of nodes, and each node has its own settings panel. Instead of searching through tabs, type the setting’s name into the Ui Search box in the main window, for example Gamma or Exposure.
- The search runs across the panels of all nodes: camera, processing, viewer and storage.
- When you select a result, the interface jumps to that control and highlights it.
- If Focus on result is ticked, the cursor lands directly on that control and you can change the value immediately.
- Some plugins also have related keywords defined; for example, typing hevc or mp4 finds the video storage.
Combining the two is very useful in troubleshooting. You play back the data, stop on a record and use Ui Search to go straight to the parameter you want to test. To learn about the other features, see the ALTRON.
A short, general resource on raw image data: Wikipedia (English).
If you have a recording that shows odd behaviour and you'd like us to look at it with you, reach out through contact page.